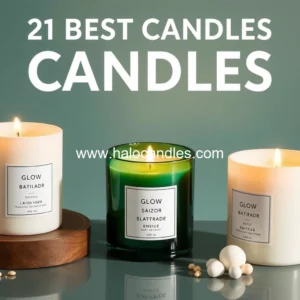
Types of Candles
There are many different types of candles, each with its own unique characteristics and uses. Here are a few examples:
You can also find them online.
Choosing the Right Supplies
When selecting a starter kit, it’s essential to consider the type of candle you want to make. Different types of wax and wicks require different supplies. For example, soy wax and beeswax require a different type of wick than paraffin wax. If you’re new to candle making, it’s best to start with a kit that includes a variety of supplies, so you can experiment with different types of wax and wicks. Some popular types of wax include: + Soy wax: A popular choice for eco-friendly candles + Beeswax: A natural, sustainable wax with a pleasant scent + Paraffin wax: A common, affordable wax for mass-produced candles
+ Cotton wicks: Suitable for most types of wax + Paper wicks: Often used for container candles + Lead-free wicks: A safer, more eco-friendly option
Setting Up Your Workspace
Before you start making candles, you’ll need to set up your workspace. This includes:
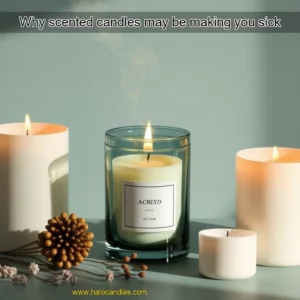
The Benefits of Natural Soy Wax
A Cleaner Burn
Natural soy wax is a popular choice among candle makers and consumers alike due to its numerous benefits. One of the most significant advantages is its cleaner burn. Unlike paraffin wax, which releases toxic fumes and soot when burned, natural soy wax produces a cleaner and more environmentally friendly burn. Soy wax is a natural, renewable resource that is biodegradable and non-toxic. It produces fewer emissions and less soot than paraffin wax, making it a healthier choice for indoor air quality. Soy wax is also a more sustainable option, as it can be sourced from soybeans that are grown using environmentally friendly practices.
A Longer Burn Time
Another benefit of natural soy wax is its longer burn time. Soy wax has a higher melting point than paraffin wax, which means it can burn for a longer period without producing as much smoke or soot. Soy wax can burn for up to 50% longer than paraffin wax, making it a more cost-effective option in the long run. The longer burn time also means that you can enjoy your candle for a longer period, without having to worry about it burning out quickly.*
Choosing the Right Supplier
When it comes to choosing a supplier for natural soy wax, there are several factors to consider. Here are a few tips to help you make an informed decision:
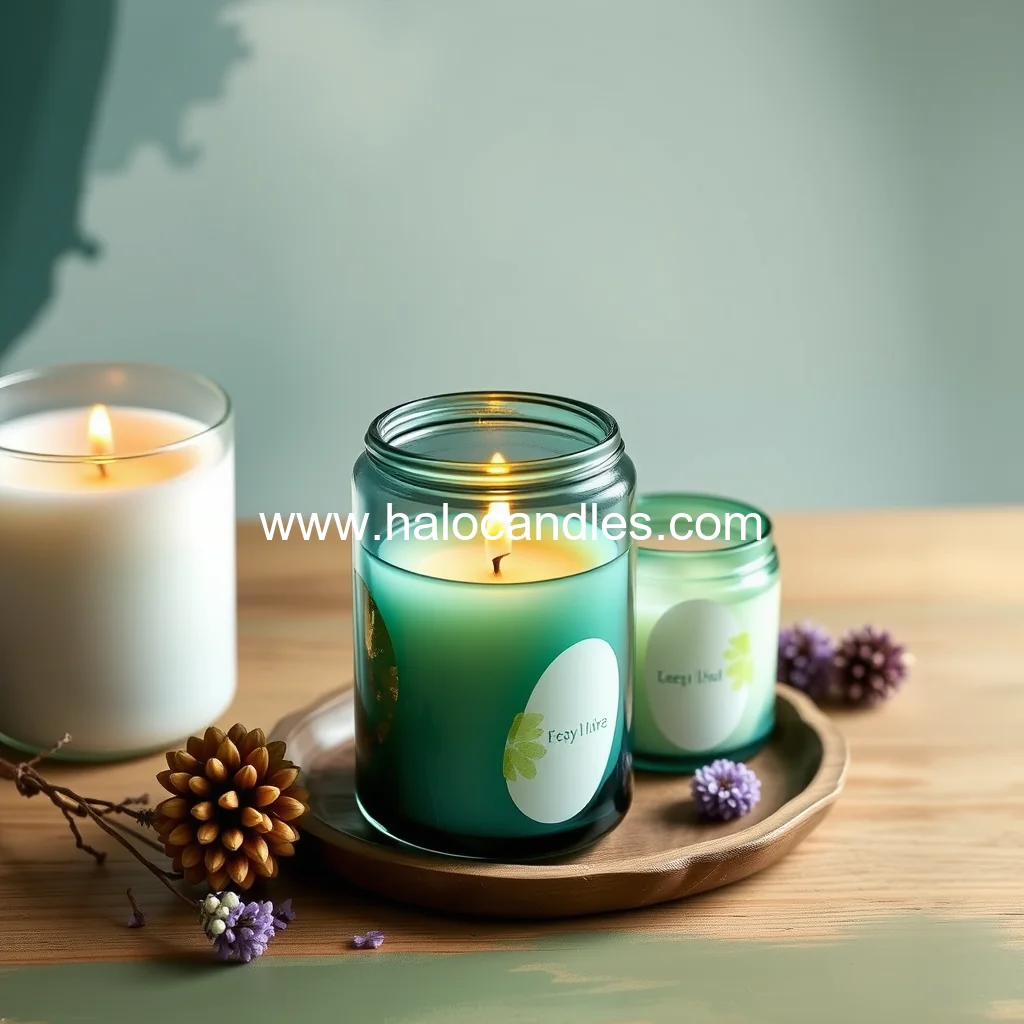
I love the aesthetic of these types of containers. But, I have to admit, I was skeptical about making candles in jam jars.
A metal clamp or a small metal bracket can be used to secure the wick to the container. A small piece of tape can be set on the wick to hold it straight as the candle dries.
Preparing the Wick
Preparing the wick is a crucial step in creating a successful homemade candle. The wick size and shape will greatly impact the burn quality and stability of the candle. Here are some key considerations when preparing the wick:
However, I’ve found that this ratio can vary depending on the type of fragrance oil used. Some oils are more concentrated than others, and the scent throw can be affected by the temperature and humidity of the room.
Understanding the Dye and Fragrance Oil Ratios
When working with wax, it’s essential to understand the ratios of dye and fragrance oils to achieve the desired color and scent. The dye ratio is typically 10g of colorant per 1kg of wax, but this can vary depending on the type of dye used.
The Basics of Candle Making
Candle making is a fun and rewarding hobby that can be done with minimal equipment. You can start making candles with basic kitchen items like a double boiler, a heat-resistant glass bowl, and some basic measuring cups and spoons.
Ingredients and Supplies
The Art of Candle Making
Candle making is an ancient craft that has been practiced for thousands of years. From the Egyptians to the modern-day artisan, the process of creating a candle has remained relatively unchanged.
Preparing the Container
Before pouring the wax into the container, make sure it’s clean and dry. Any moisture or debris can affect the quality of the candle. Here are some tips to ensure your container is ready:
Adding Color and Fragrance
Once the wax is in the container, you can start adding color and fragrance. Here are some tips to keep in mind:
Pouring the Wax
Now that the container is ready and the wax is at the right temperature, it’s time to pour it into the container. Here are some tips to keep in mind:
This is a sign that the wax has reached its melting point and has started to cool down. The wax will then solidify and form a hard, brittle shell around the wick. This process is called the “wax hardening” process.
The Wax Hardening Process
The wax hardening process is a natural part of candle making. It occurs when the wax reaches its melting point and begins to cool down. As the wax cools, it will start to solidify and form a hard, brittle shell around the wick. This process can take anywhere from a few hours to several days, depending on the type of wax and the ambient temperature. Factors that affect the wax hardening process: + Temperature: The ambient temperature can affect the rate of wax hardening. Warmer temperatures can speed up the process, while cooler temperatures can slow it down. + Type of wax: Different types of wax have different melting points and hardening rates. For example, soy wax tends to harden faster than paraffin wax. + Humidity: High humidity can slow down the wax hardening process, while low humidity can speed it up.
The Importance of Wax Hardening
The wax hardening process is an important part of candle making. It helps to create a stable and consistent burn.
You can also use leftover wax to make new candles, or even other items like soap, lotion, and more.
The Art of Upcycling: Turning Waste into Treasure
Upcycling is the process of transforming discarded or unwanted materials into something new, useful, and often valuable. It’s a creative way to reduce waste, conserve resources, and give old items a second life. In this article, we’ll explore the world of upcycling, its benefits, and some practical tips to get you started.
Benefits of Upcycling
Upcycling offers numerous benefits, including:
Getting Started with Upcycling
Upcycling is accessible to anyone, regardless of skill level or experience. Here are some simple steps to get you started:
news is a contributor at HaloCandles. We are committed to providing well-researched, accurate, and valuable content to our readers.